0131.887213
 Carrello
⟨0⟩
Carrello
⟨0⟩


A unique pen holder
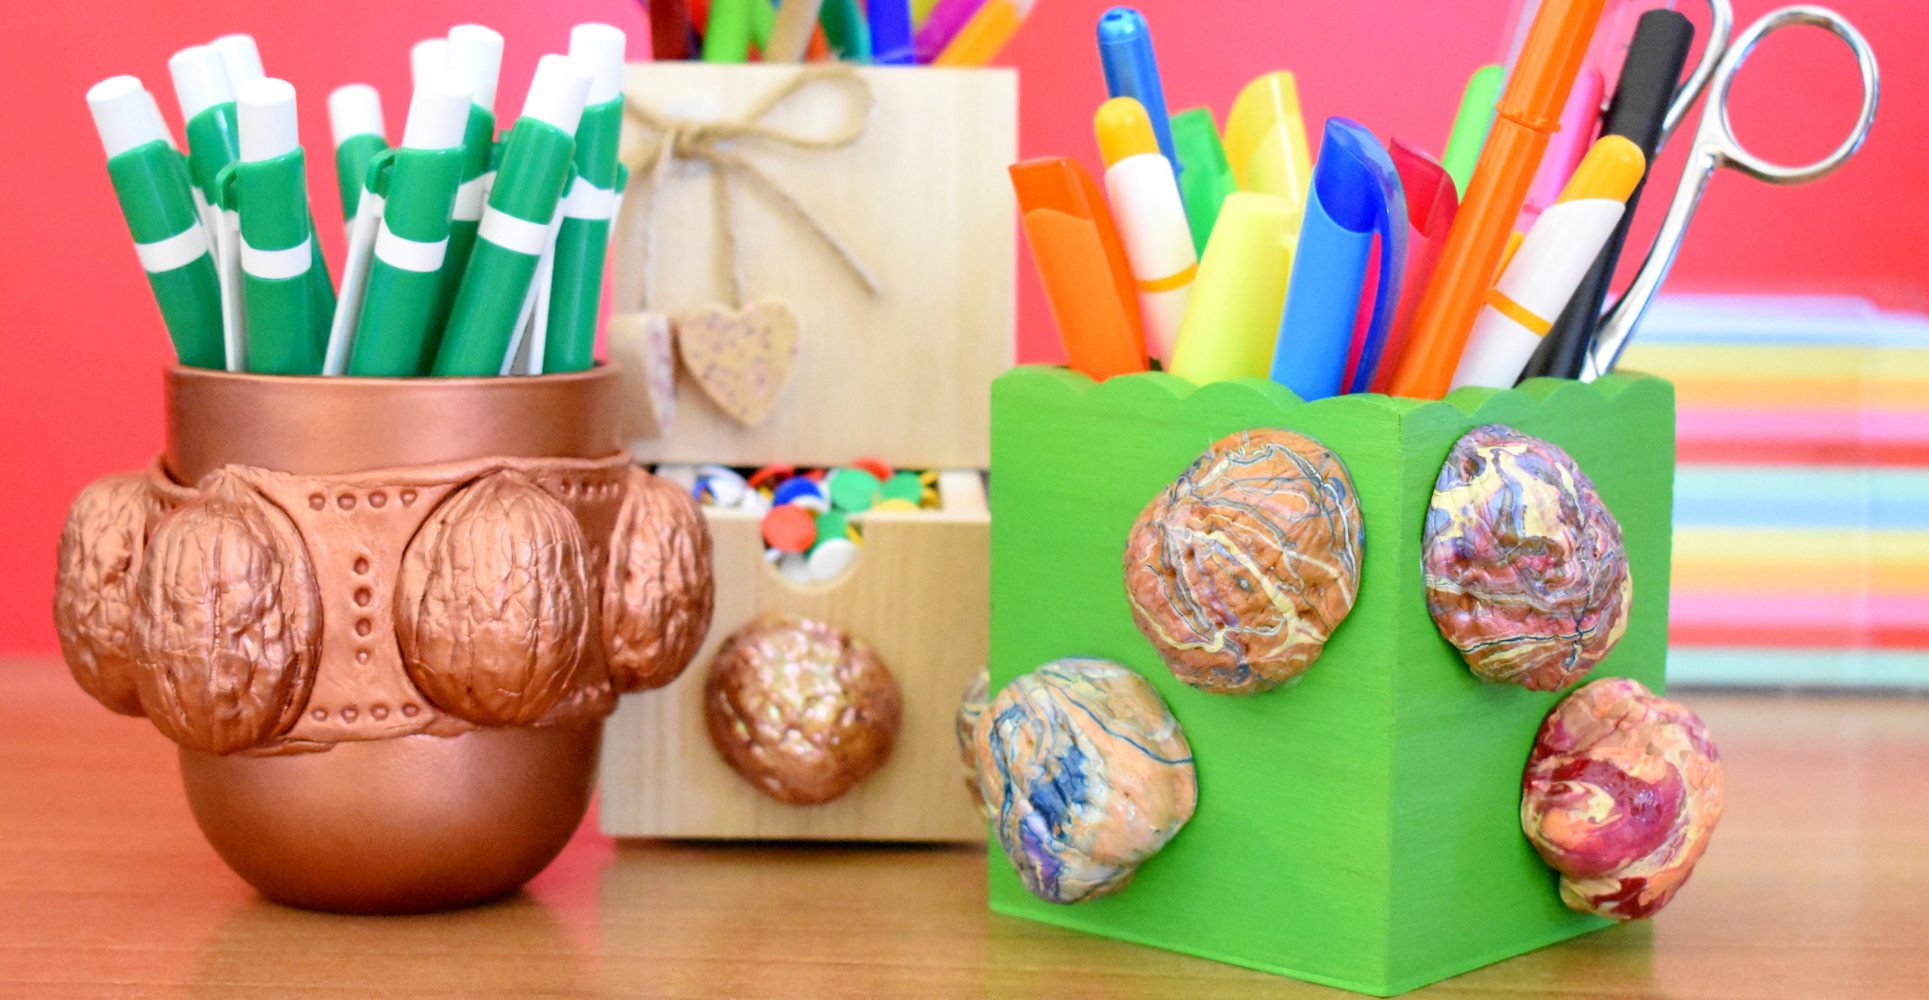
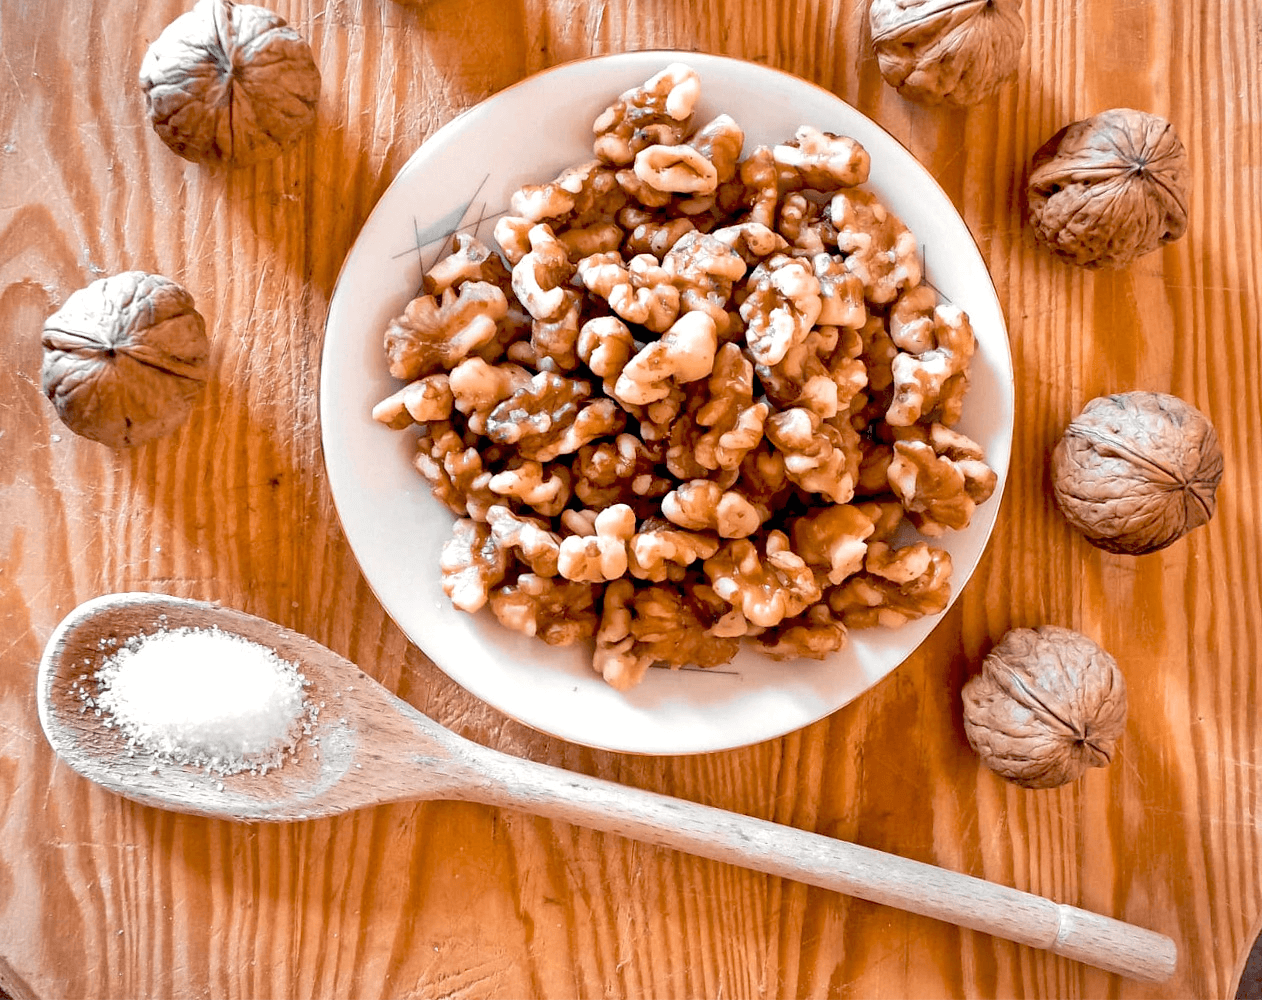
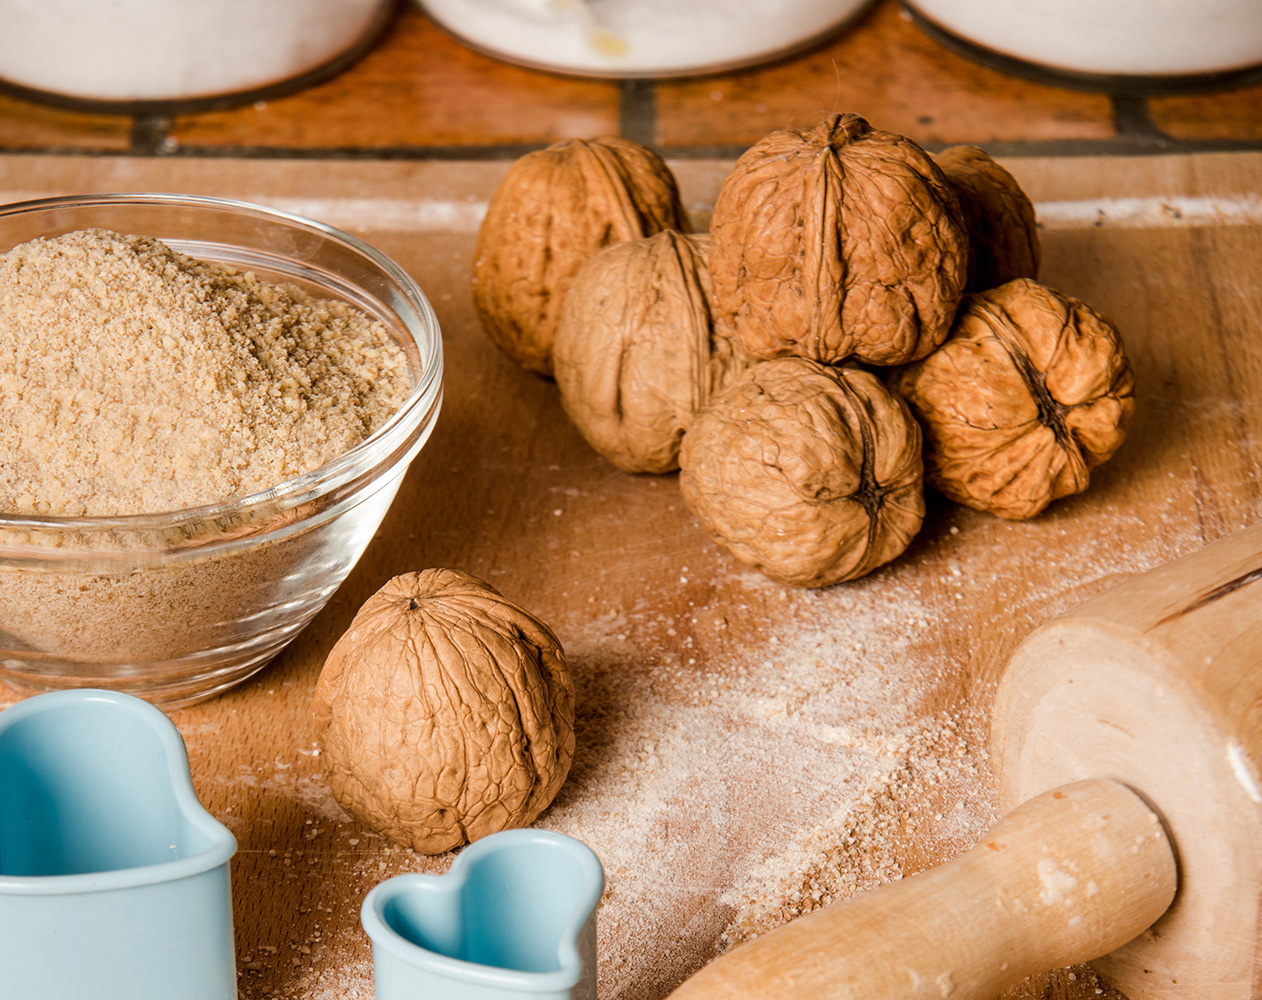
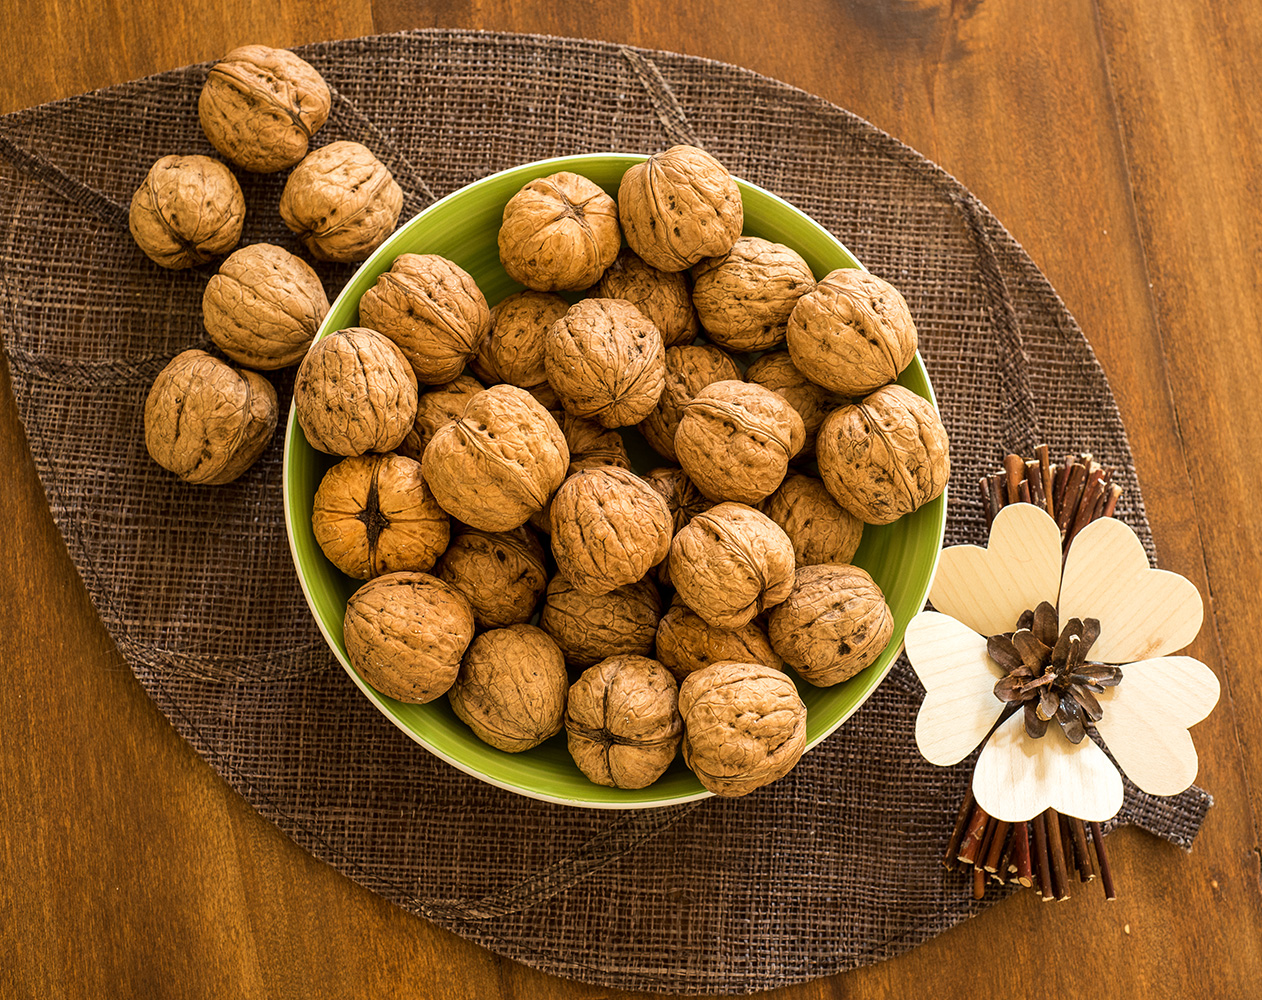
Walnut shells can come in handy even when decorating the simplest of objects.
If you have some walnuts at home, you can try your hand at making an original-looking pen holder.
There are almost unlimited possibilities, so let yourself be inspired and guided by your imagination and collect the material that you’re going to need, based on the ideas you have in mind.
This is an approximate list of things you might find useful:
- walnuts
- a container of an appropriate size (a beaker, an empty can or box, square or round or whatever you like)
- modelling paste (that hardens in air)
- hot glue gun and/or quick-setting glue
- nail varnish or enamel paint, acrylic colours, spray paints, etc. (based on the type of colour you want)
INSTRUCTIONS
Split the walnuts in half and empty the shell, then colour them however you like.
If you opt to use a spray, colouring will be very simple, otherwise if you want to create a marble effect, you have to get a container with some water and some enamel paint or nail varnish. Drop some enamel paint or nail varnish onto the water’s surface, wait for it to slightly expand, then drop another colour of the enamel paint or nail varnish into the middle of the circle formed on the water and continue like this, alternating between various colours. The circle that forms will need to have a diameter of about 12 cm. Then, with the tip of a toothpick, trace some lines randomly in order to mix the various colours and create a marble effect. If you have any difficulty, it is easy to find videos explaining this technique on the internet. Once the marble colouring has been prepared, take a walnut shell in some pincers or tweezers and dip it into the water so that the enamel paint or nail varnish adheres to the shell’s external surface, then let it air dry.
The coloured walnut shells can be glued directly onto the contained that you have chosen as your pen holder, or, you can cover the pen holder’s surface with some modelling paste, creating different patterns, to achieve a particular effect. If you want to attach walnut shells on top of the modelling paste, we recommend pushing the edge of the shell into the modelling paste before it dries so that they adhere together better.
Once the container has been prepared, colour it, then attach the walnut shells with the glue and, optionally, spray a layer of transparent varnish over the finished article in order to fix the colours and make the whole thing more resistant.
In this way, you will have created a unique object to take pride of place on your desk!